I have completed building the first Backplane-4 and happy to report that i have not found any major issues yet. So I am going to upload the documentation and share the gerber files.
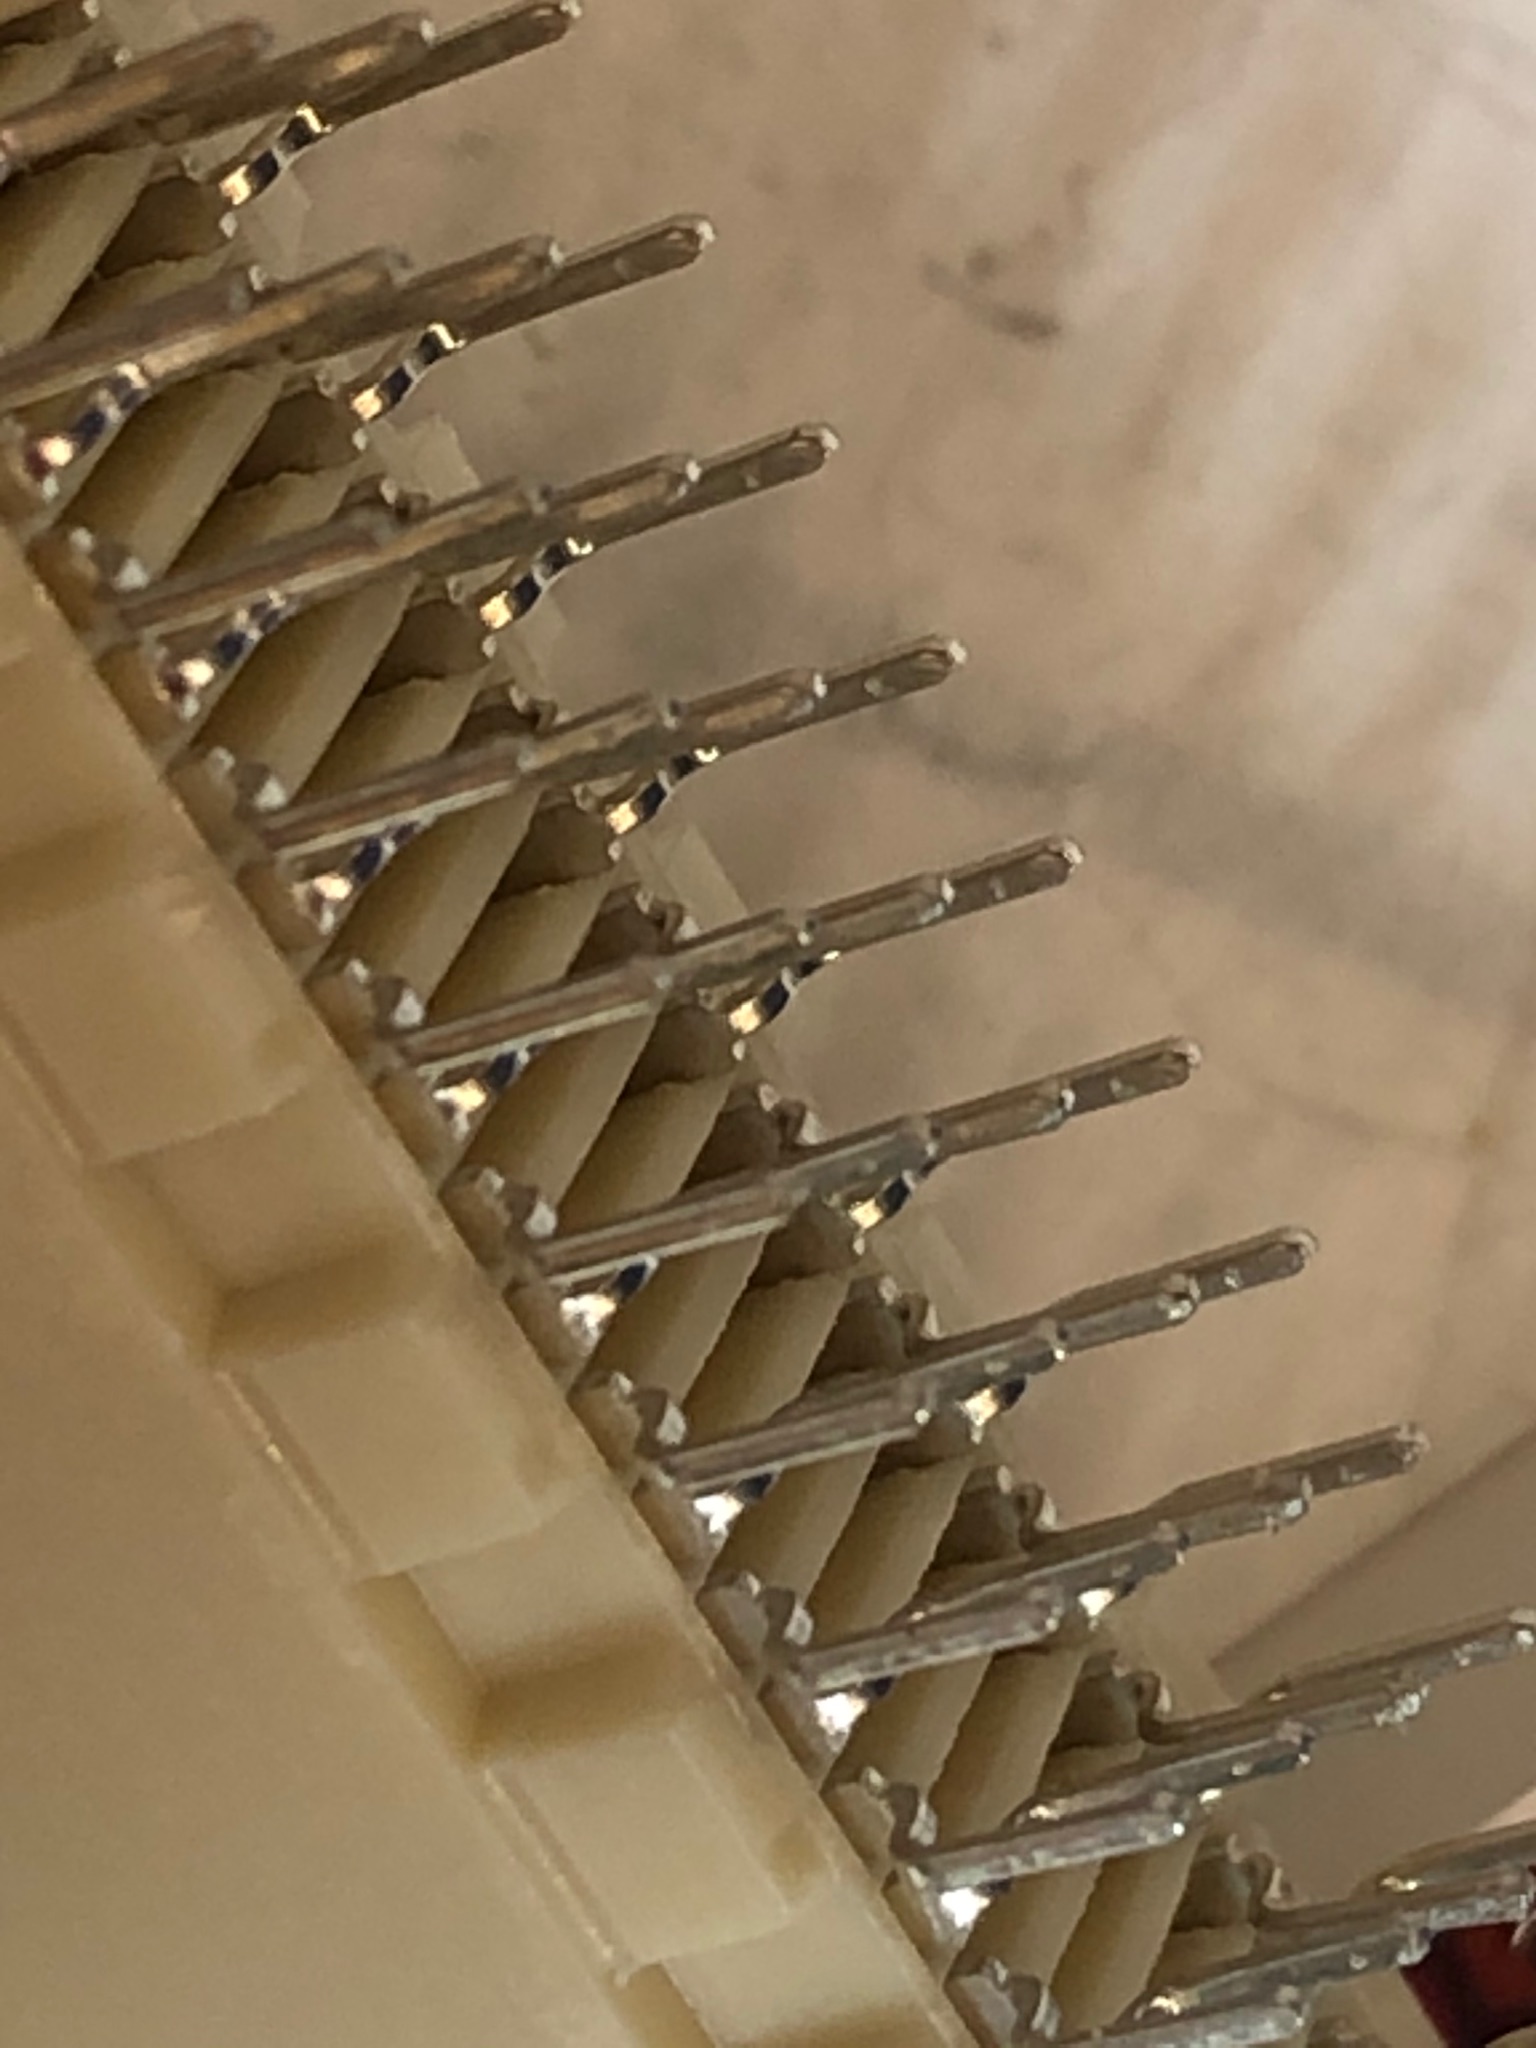
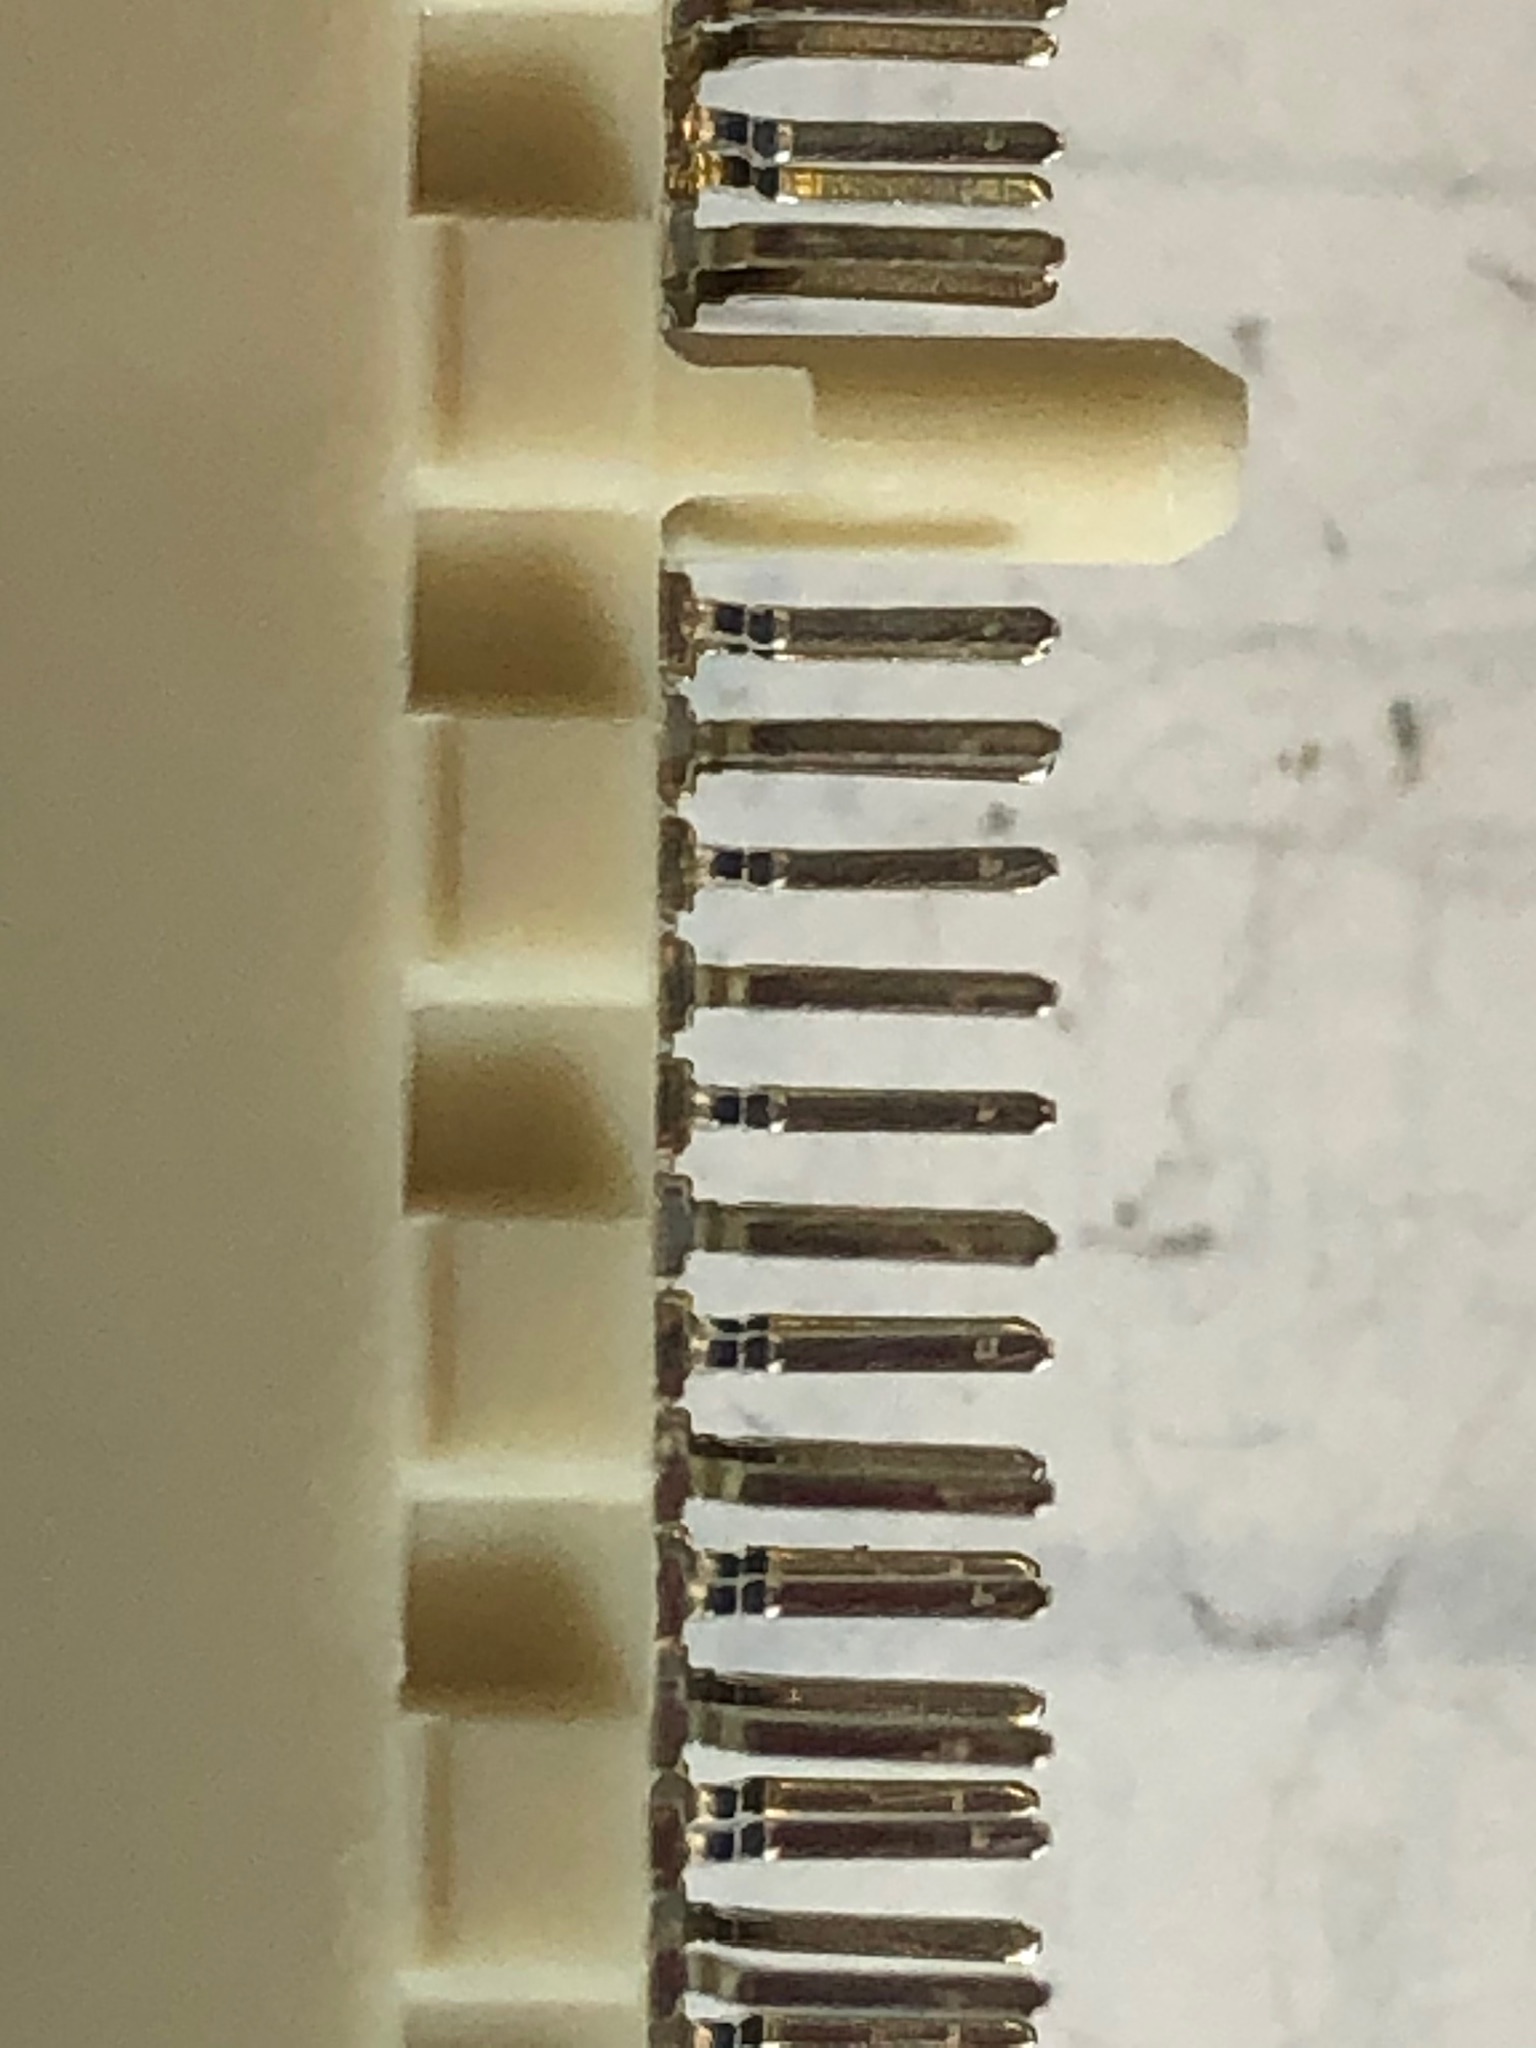
The assembly is straight forward and my only real advice is related to the 120 pin PCI edge connectors. The holes in the PCB are the recommended sized so insertion of the connector is not difficult. In fact the first one I just casually put in while walking from my connector bin back to my work bench. However, once sitting at my bench I employed the same level of carelessness and managed to bend and break pins on two connectors before it became apparent that the first one was a fluke. Fortunately, one of the broken pins was on a supply rail so it was highly redundant. So here is my assembly advice:
- Buy one or two extra of the PCI connectors. They are very low cost ($3 at Digikey and $0.87 at Phoenix Enterprises) and since the spring material pins are extremely brittle they break rather than bend.
- Note that there are different pin lengths depending on the (TE – AMP) part number. I think the longer pin versions are easier to install by hand.
- Be very certain that none of the pins have been bent or displaced during shipping. Look at them from every angle to make sure they are perfectly aligned.
- Insert the PCI connectors before any other components and take a great deal of care to be sure that the pins are aligned with the PCB holes as the connector is inserted.
Once the PCI connectors are inserted, the rest of the assembly is child’s play.
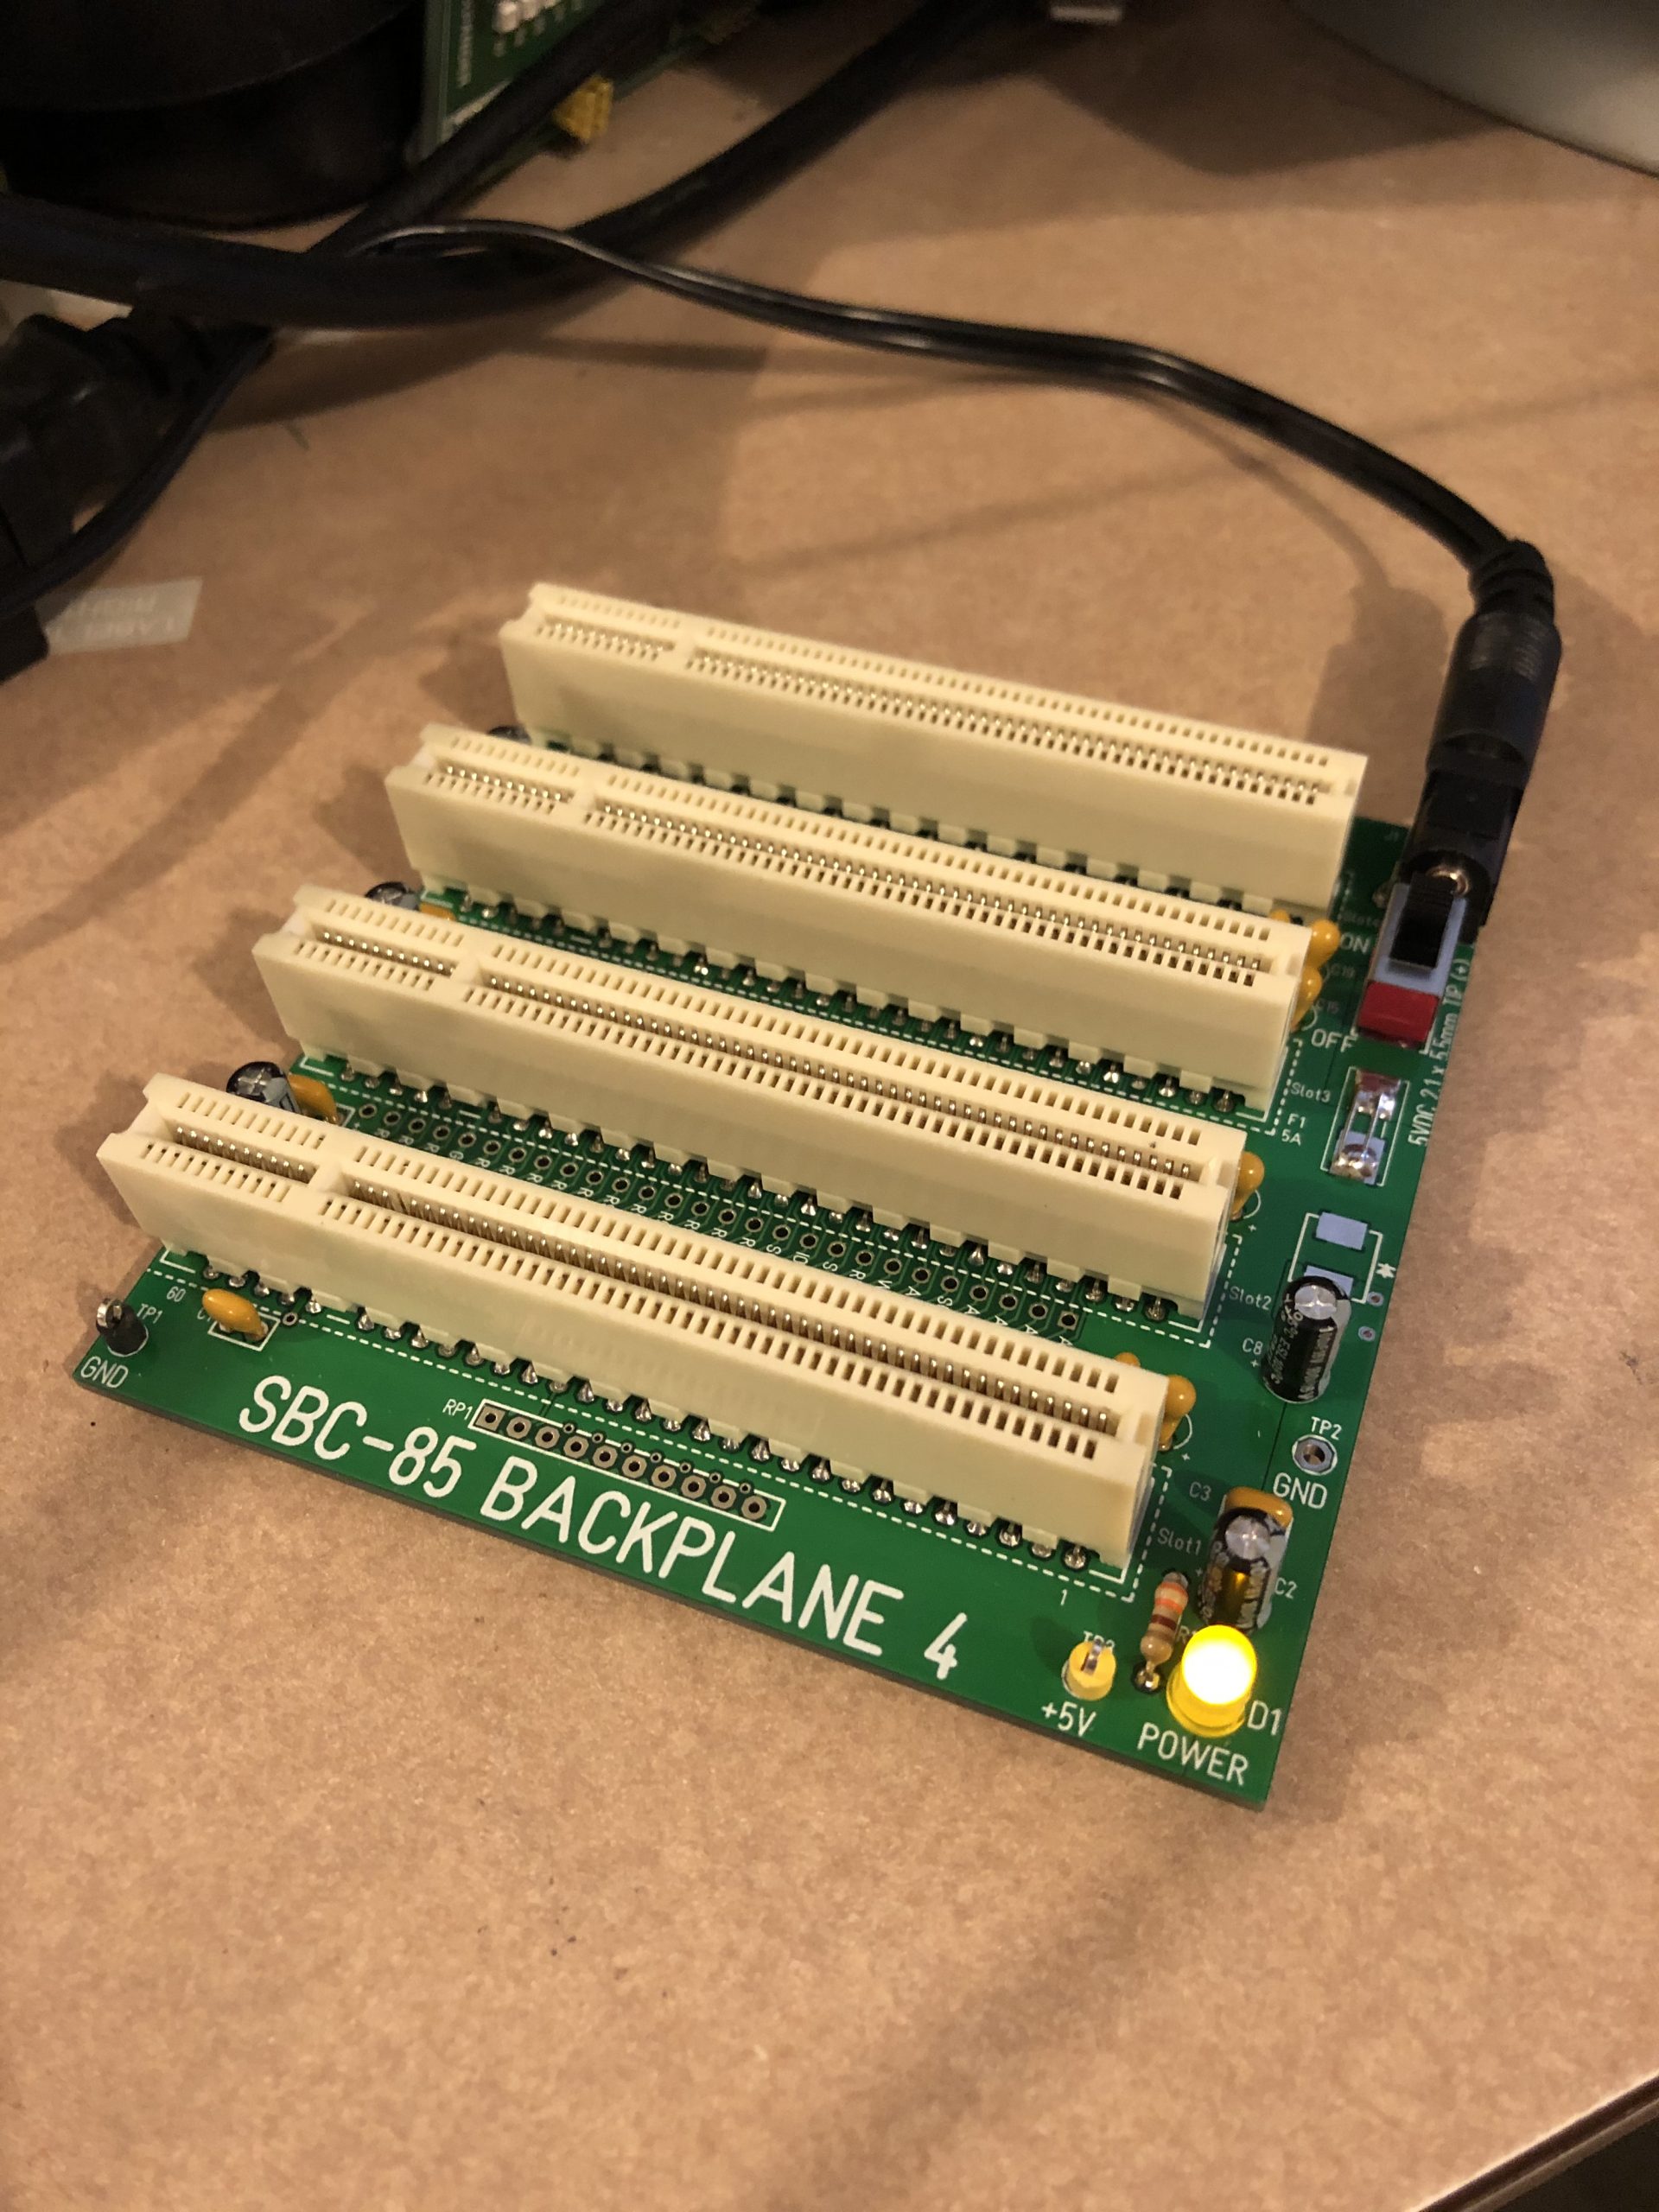
I haven’t assembled the bus monitor or any other card for the back plane, but even with just the CPU installed I am really enjoying the power switch on the backplane since I do not need to unplug the barrel connector every time I swap the EPROM in the ZIF socket. Besides that, the CPU just looks more proud standing up.
Now I need to get the documentation in order—, BOM, gerbers, user manual, etc., so you can build your own backplane. As the documentation comes together you can find it here.
I use both Target 3001! and KiCAD and this board layout was done in KiCAD. If you would like the project build file, let me know.